
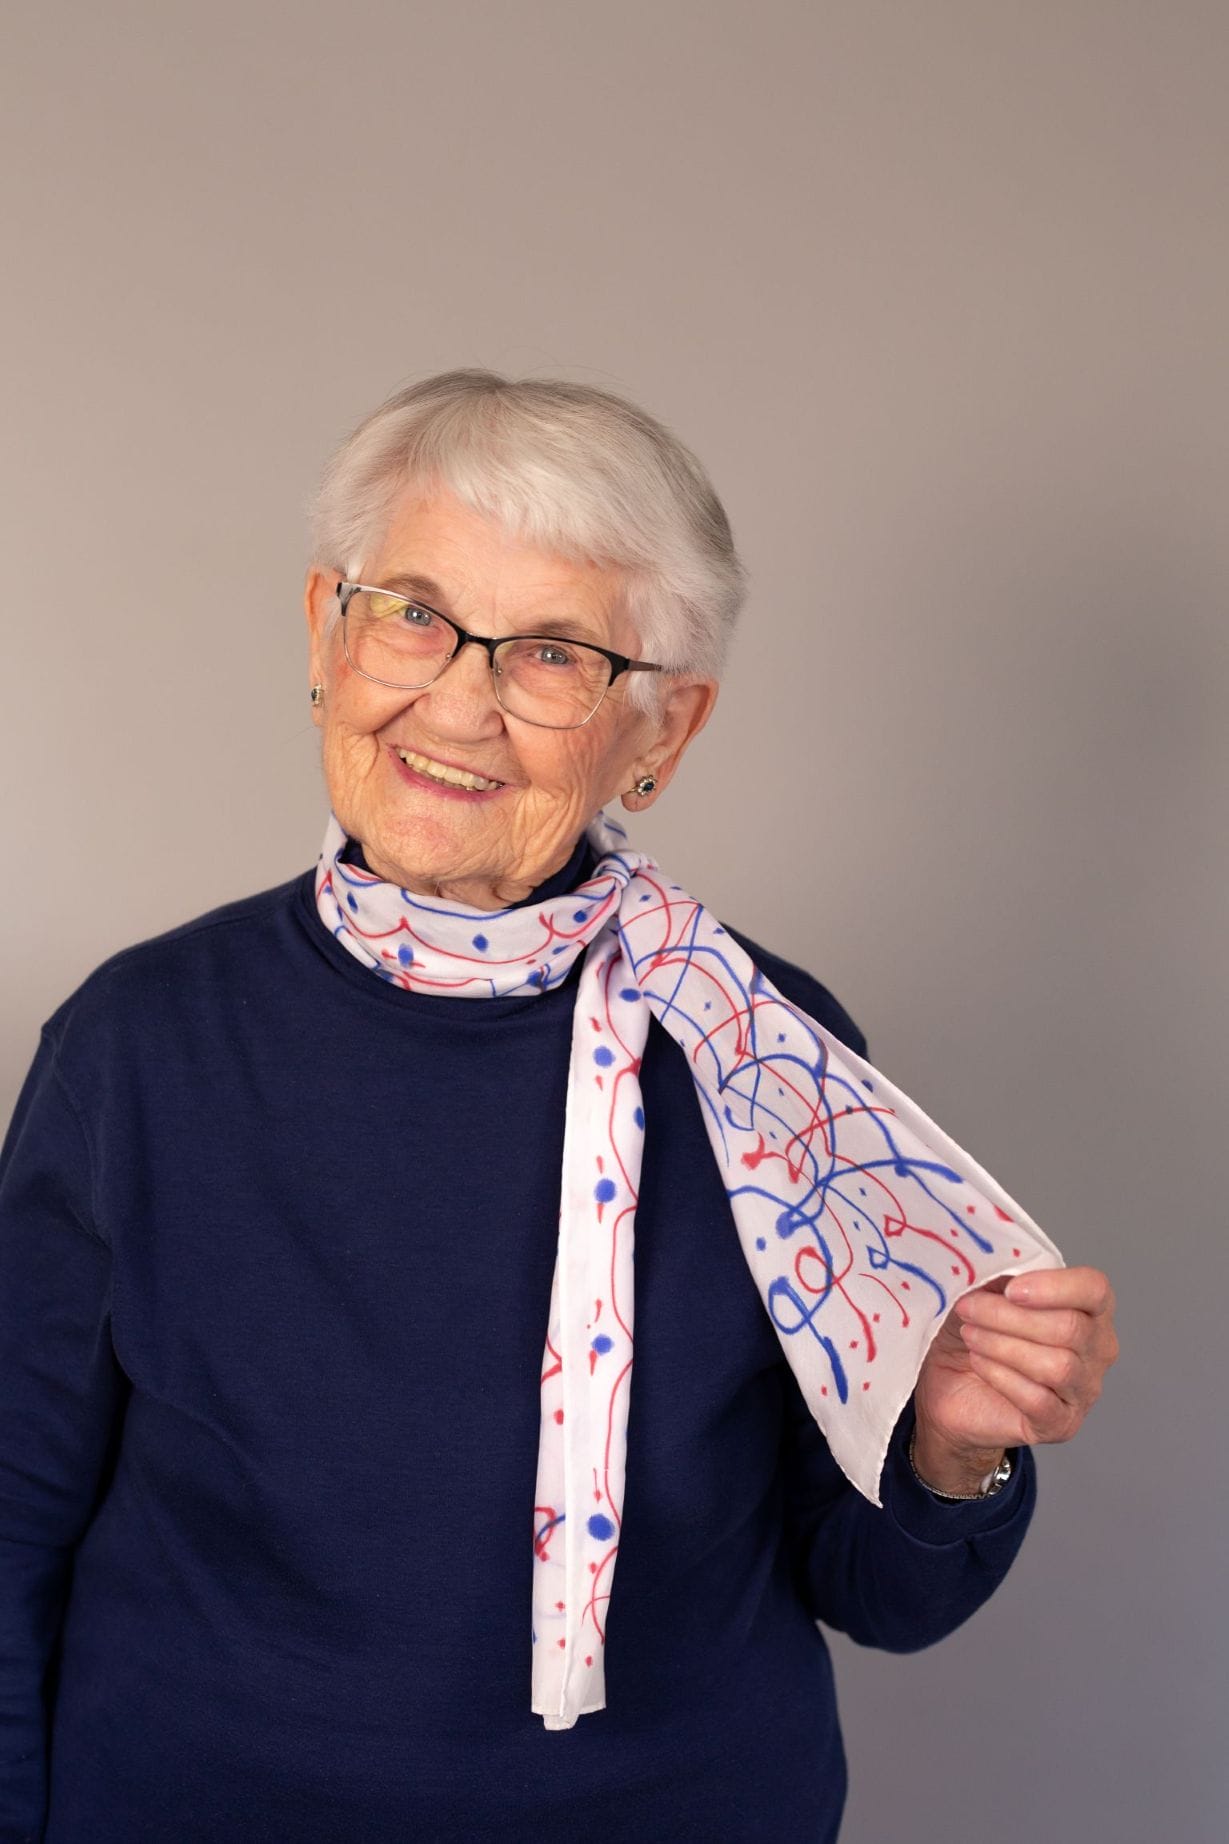
Sandi Gilleo learned how to marble scarves after admiring them at craft shows for many years—always wanting one but never wanting to pay the price. An educator at heart, Sandi loves sharing the joy of creativity with others and has taught many crafting classes of her own over the years, including Sharpie scarves. She recently demonstrated this craft for a Pathways Institute for Lifelong Learning® course and describes it as an easier and less messy DIY with a similar artistic approach to marbling.
SUPPLIES
- White or light-colored scarf made from silk, cotton, or a synthetic fabric
Tip: Sandi suggests checking out local thrift stores for scarves or purchasing from Dharma Trading Co., her go-to. - Colored Sharpies
- 1 large garbage bag
- 91% rubbing alcohol
- Misting bottle
- Iron
- Pressing cloth
 INSTRUCTIONS
- Prep your work area by laying out a kitchen-sized garbage bag to prevent staining.
- Place your scarf on top of your prepped area and select a variety of colored Sharpies to use.
- Draw a design of your choice onto the scarf, such as lines, dots, shapes, or abstract images, and don’t forget to incorporate multiple colors. Since most silk, cotton, or synthetic scarves are thin, if you draw slowly, the fabric will absorb the marker and the design will go through to the other side. Keep an open mind with your design, as the next step will blend the colors together, creating a watercolor effect.
- Mist rubbing alcohol over your design, and let it dry for five minutes.
- Layer colors and add more rubbing alcohol, as desired, until you are pleased with how it looks.
- Let your finished piece thoroughly dry.
- When dry, set the color into the scarf by pressing with a hot, dry iron for five minutes. Be sure to use a pressing cloth or an old cotton T-shirt on top of and beneath the scarf to avoid color transfer. Alternatively, you can place it in the dryer for 15 minutes.
- Avoid washing your Sharpie scarf if you can to best preserve the color, but you can hand wash with cold water when needed.