The gift of a small observation hive—given to her son who expressed interest in beekeeping 15 years ago—has since blossomed into a bee-centric lifestyle for Pathways Institute for Lifelong Learning instructor, Joyce Wilder. Becoming captivated by the buzzing pollinators herself, she now manages several hives in her New Cumberland backyard and enjoys experimenting with the products of bees, including honey and beeswax.
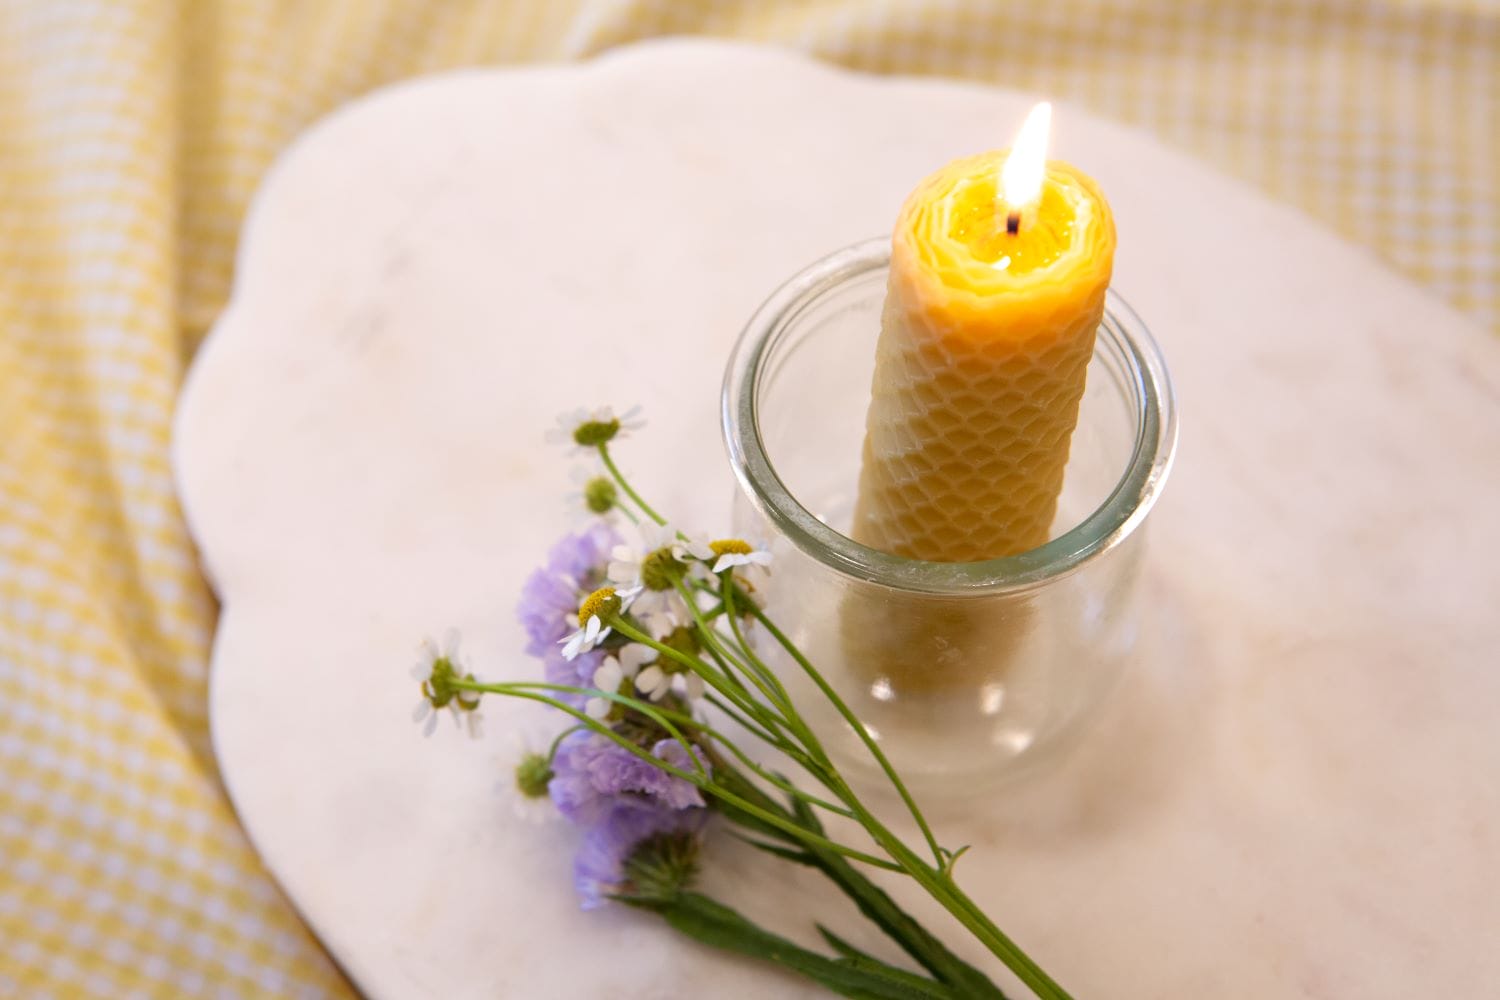
One of Joyce’s favorite bee crafts is rolling beeswax candles. Environmentally friendly and non-toxic in nature, these easy-to-make candles offer a cleaner burning experience with no added fragrances or colorings.
Below, see supplies and step-by-step instructions needed to make your own hand-rolled candles at home!
SUPPLIES NEEDED
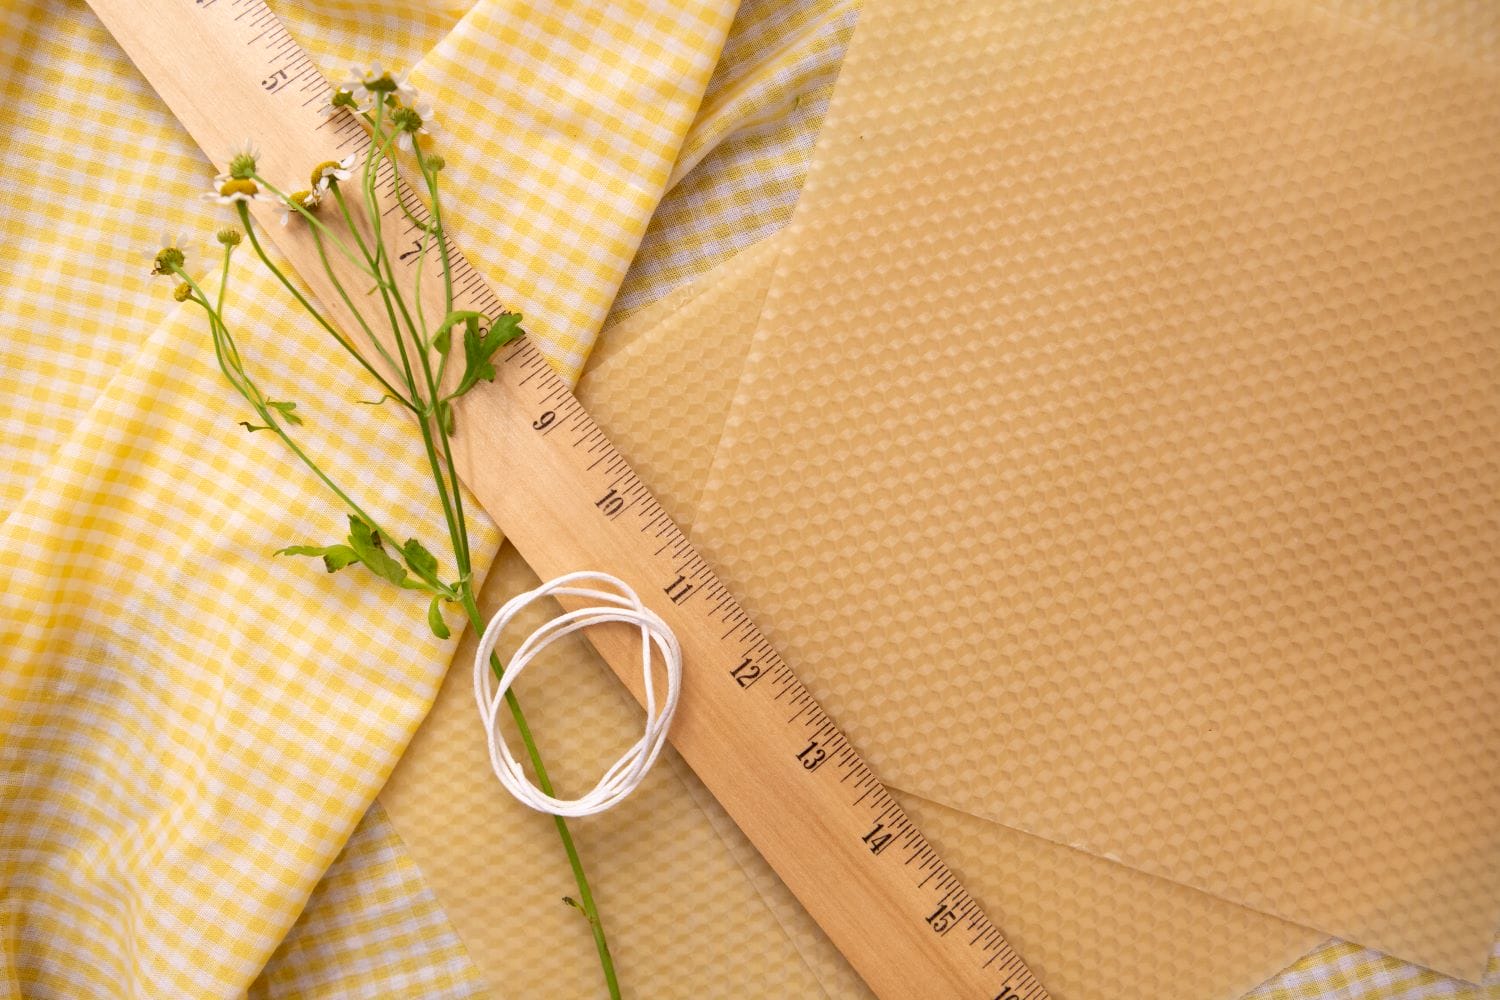
- Several beeswax sheets (typically measuring 8 inch x 16 inch)
- A roll of square-braided cotton wick, size #2/0
- Scissors and/or a cutting knife
- Cutting board or other appropriate cutting surface
INSTRUCTIONS
- Lay the beeswax sheet on your cutting surface, landscape-oriented (with the longest part of the sheet measuring from left to right).
 Cut a piece from the wick roll that is approximately 3/4 inch longer than the wax (measuring from top to bottom). If you’re using an 8 inch x 16 inch sheet, your wick should measure approximately 8 3/4 inches.
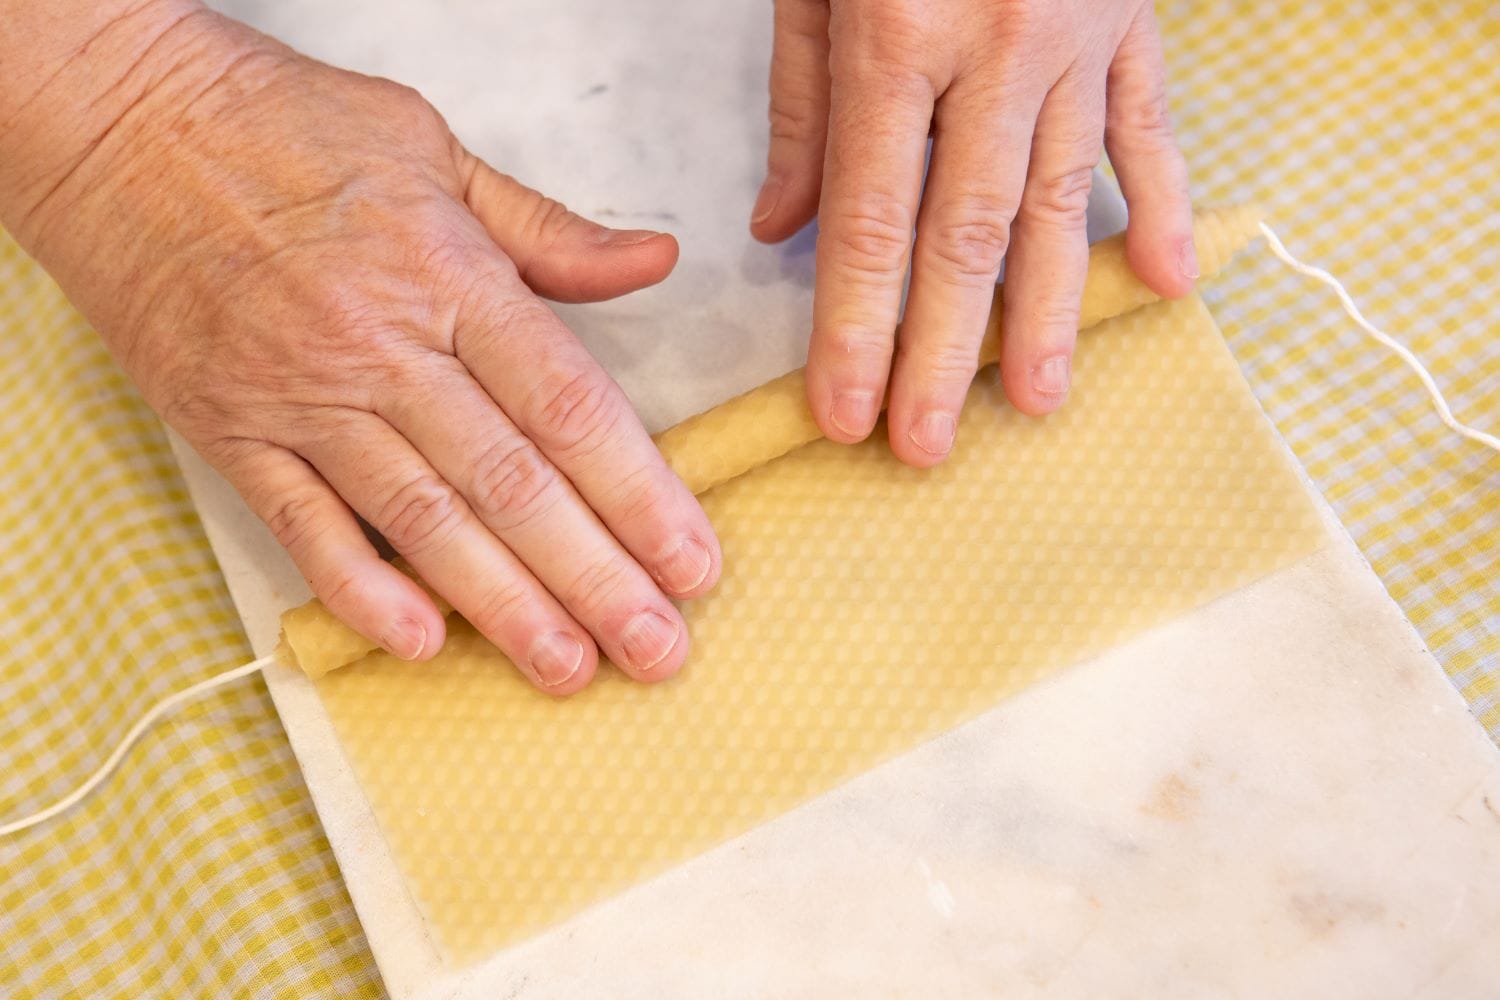
- Place the wick along the edge of the beeswax sheet and slowly begin rolling the candle. You may need to gently fold and press the beeswax around the wick to ensure it is securely wrapped. Continue to slowly roll the rest of the beeswax, smooth and straight, until you reach the end of the sheet.
- Use your thumb to gently press the edge of the beeswax sheet onto the side of the candle to form a smoother edge of your finished candle.
With Pathways Institute, Joyce also teaches how to roll slightly more complex connected taper candles and how to make reusable beeswax wraps.


