

If you’re a habitual dog-earer of pages or tend to grab any loose piece of paper to hold your spot in your current reads, this DIY is for you! In an hour or less, you can create a unique spring-inspired bookmark that will add handmade charm to your favorite books.
SUPPLIES NEEDED
- Flowers and/or greenery (dried)
- Paper towels
- Microwave-safe dish
- Microwave
- Thick watercolor paper
- Ruler
- Scissors
- Matte Mod Podge
- Paintbrush
- Hole punch
- Embroidery floss
- Tweezers (optional)
PRESSING THE FLOWERS
The quickest way to dry flowers is in the microwave!
- Use scissors to remove the stem of your flowers, cutting as close to the bottom of the bloom as possible. If you’re using greenery, cut it into smaller 1-inch pieces or remove the leaves from the stem.
- Place the blooms on a dry paper towel and lay another paper towel on top.
- Place them inside the microwave and weigh down the flowers with a microwave-safe dish, such as a glass Tupperware container or dinner plate. Make sure the entirety of the flowers are under the weight.
- Microwave at full power for 30 seconds.
- Remove the dish and check on your flowers. When they’re dry, they should feel like tissue paper. If they’re still moist, put them back in the microwave and cover with your dish for 30-second increments until dry.
- When they’re finished, remove them from the microwave to cool.
Small flowers and plants that are good for pressing: Cosmos | Daisies | Ferns | Hydrangeas | Pansies | Violets | Wildflowers
CRAFTING A BOOKMARK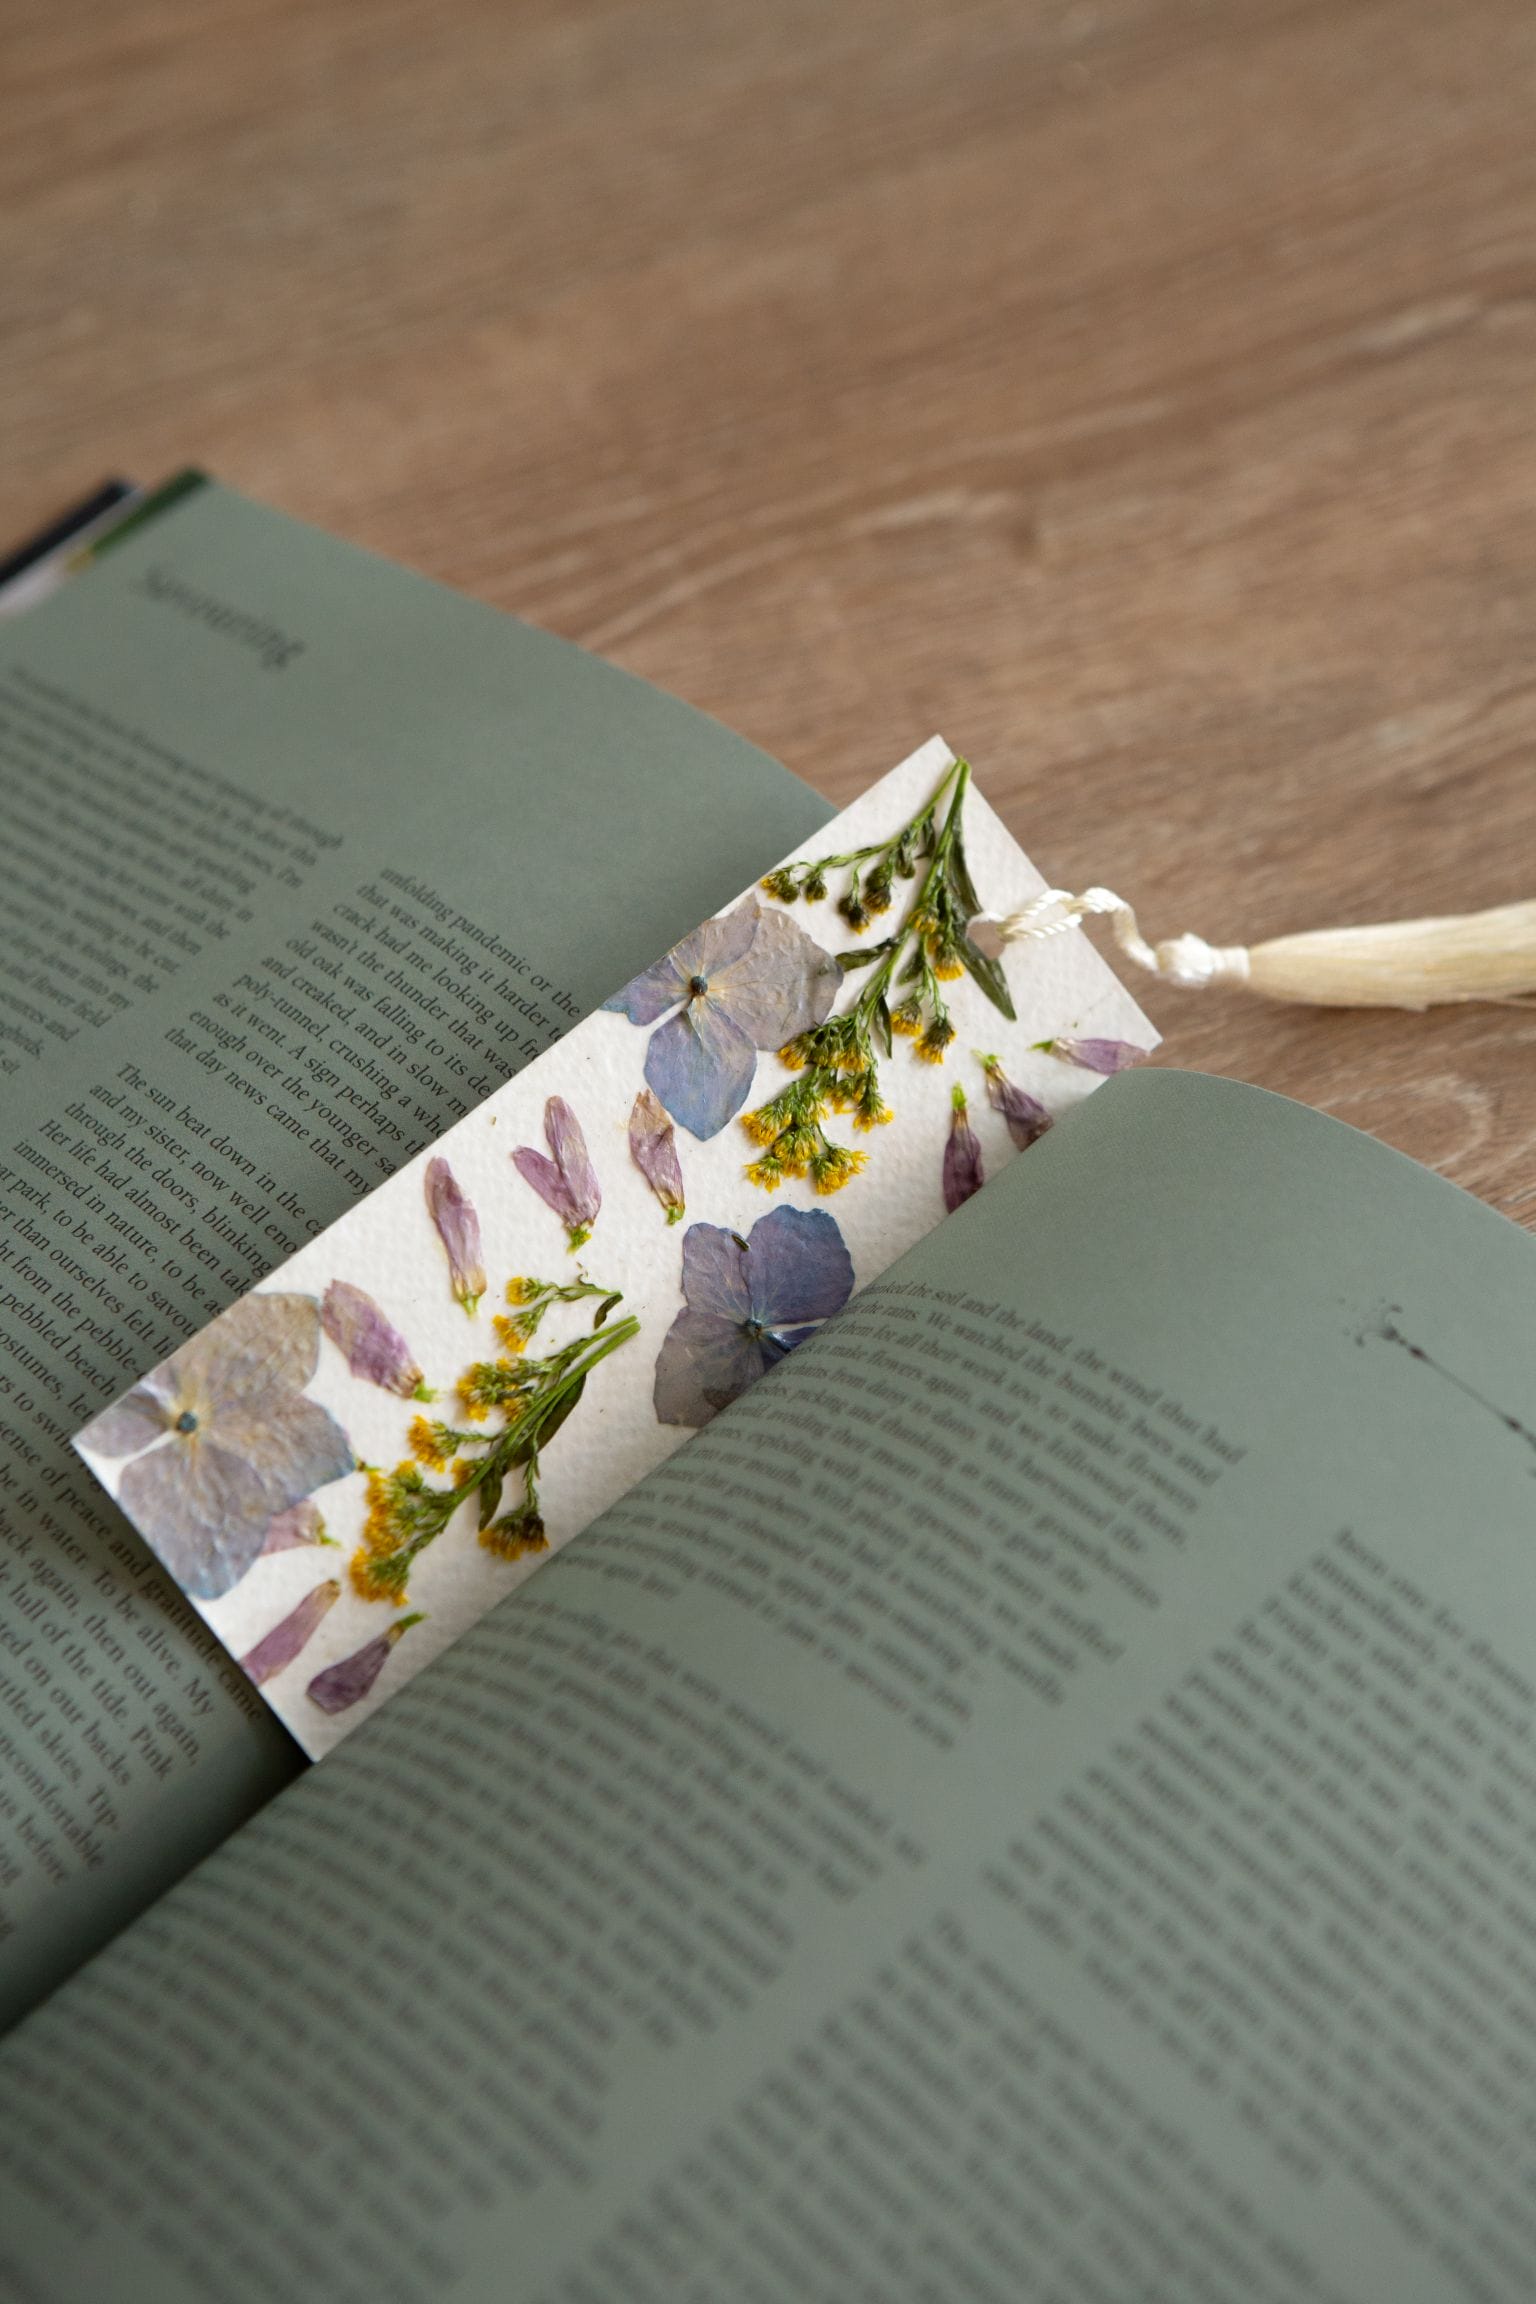
- Measure and cut the watercolor paper into 2-inch by 6-inch bookmarks.
- Brush a thin coat of Mod Podge over the top of each bookmark.
- While the Mod Podge is still wet, use tweezers if needed, and arrange the dried flowers and plants on the bookmark—mingling colors, textures, and sizes.
- Once dry, apply another coat of Mod Podge on top of the bookmark. Let dry completely.
- Punch a hole near the top of the bookmark for your tassel.
MAKING A TASSEL
- Using your pick of embroidery floss, wrap it 15 times around two of your fingers.
- Carefully slide the loop of strings you created off your fingers and tie a knot around the top portion of the loop, securing all the strings together. After you tie this knot, leave the thread long, as this is the thread we will use to connect it to the bookmark in Step 5.
- With a separate piece of embroidery floss, tie another knot about 1/4 inch below your initial knot. Then, the thread around the knot you created four additional times before tying a final knot to secure the middle portion of the tassel. Trim this piece of thread as close to the knot as you can.
- Cut through the bottom of your loops to create 30 separate strings. Trim them to make them even, if needed.
- Using the piece of thread left long in Step 2, loop it through the hole you punched in the top of the bookmark, tie it off, and trim any excess thread.