
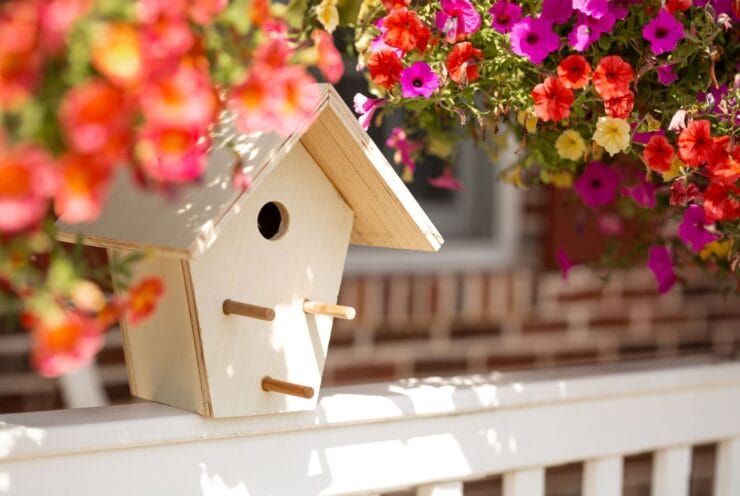
What better sound of summer than the chirping of birds?
Bring the songs of summer to your patio or favorite outdoor space by investing some time and labor into building a birdhouse, designed especially for wrens. This birdhouse can be hung almost anywhere since not-so-picky wrens are notorious for building nests wherever they please. But if you want to make the house especially pleasing to a wren, hang it on low tree branches (5–10 feet off the ground) and offer nesting materials like moss and small twigs.
SUPPLIES NEEDED
- One pine board that measures 1 inch deep, 12 inches wide, and 6 feet long
- Ruler
- Pencil
- Circular saw or table saw
- Power drill
- 5/16 inch drill bit
- 1 1/2 inch hole saw bit for power drill
- 5/16 wood dowel, at least 4 inches long
- Wood glue
- Hammer
- 1 1/2 inch finishing nails
MEASURING & CUTTING
- Cut a 5 x 7 inch piece of wood for the bottom of the birdhouse.
- Cut two 5 x 5 1/2 inch pieces for the side walls.
- Cut two 7 1/4 x 11 1/2 inch pieces for the front and back panels.
- Trimming is necessary on the front and back panels to create the desired shape. On both sides of the panels, mark 5 inches from the bottom. Then, at the bottom edge of the panel, make two marks that are 1 1/8 inches in from either side, which makes a 5 inch space between the two points.
- Use the straight edge of your ruler to draw an angled line between the two points you marked on the wood. Connect the left two points to each other and the right two points to each other. Once measured, you may cut the pieces. When finished cutting, you should have a piece of wood with five sides.
- Measure 6 inches up from the bottom of the panel you’ve identified as the front, and center it horizontally. Use a power drill fitted with a 1 1/2 inch hole saw bit to make the birdhouse entrance.
- Measure 9 1/2 inches lengthwise from the remaining piece of wood, adjust the bevel gauge on a circular saw to 31 degrees, and cut across.
- From the piece remaining after making that cut, measure and mark 8 3/4 inches, and make the cut with the saw blade set at 31 degrees. When finished, return the bevel setting on the saw to zero.
- Trim the roof pieces so they are both 8 1/2 inches wide.
- Cut three 1 1/2 inch perches from a 5/16 inch wood dowel.
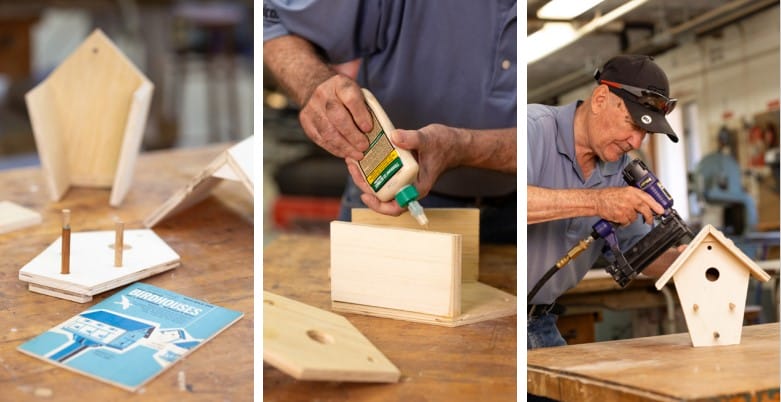
ASSEMBLING
- Use the finishing nails to attach the front and back panels to the side wall pieces.
- Nail in the bottom of the birdhouse.
- Wood glue the roof to the top of the birdhouse, ensuring the beveled edges are touching and creating a point at the top. Then, nail in the roof pieces for extra security.
- Beneath the opening on the front of the birdhouse, mark three areas where you’d like the perches to be installed. Drill a hole 1/2 inch deep (not fully through the piece of wood) using a 5/16 drill bit. Place a dot of wood glue onto one end of the pieces of dowel you cut for the perch, and place it into the hole.